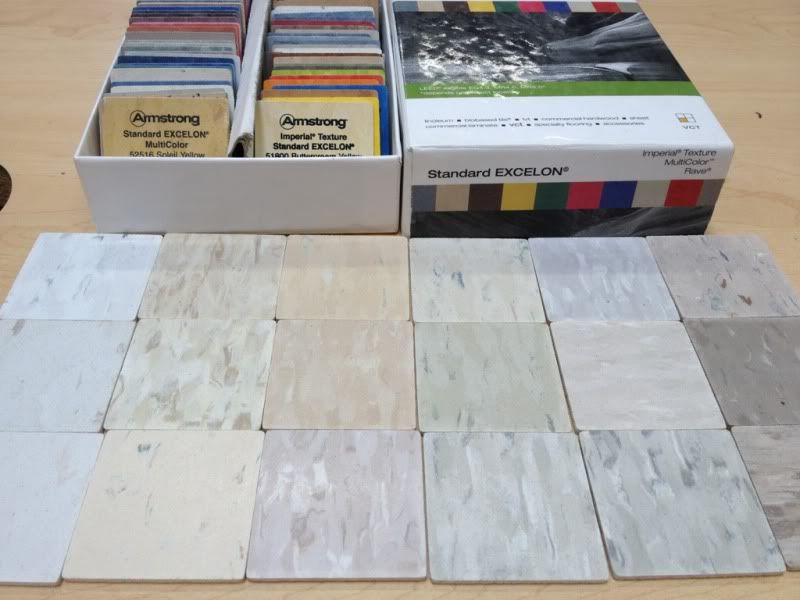
I've seen the Armstrong VCT tiles on Lowes and Home Depot for sale on their sites, but I really want to see what they look like in person. Colors from online are never the same.
Have been to (a few of) their stores asking to look at samples or chips, but no one ever had them. Well, I take that back. One Home Depot had a big color sample board about 16 feet high. Yeah, that's really helpful.
So finally today while visiting the Home Depot in Santa Ana off Edinger, THEY HAD CHIP SAMPLES. Praise the lawd.
But I still have no flippin' idea which one to pick....
Friday, August 30, 2013
Tuesday, August 27, 2013
Just keep sanding. Just keep sanding, sanding....
Went up to work on the trailer over the weekend. Just more sanding.
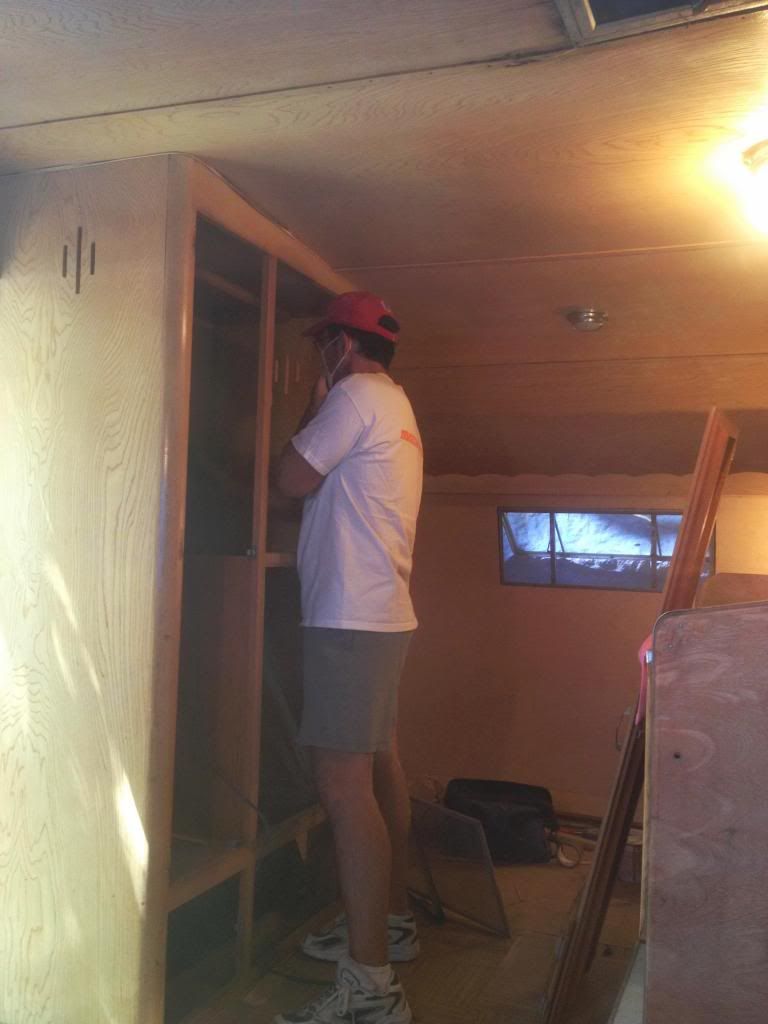 |
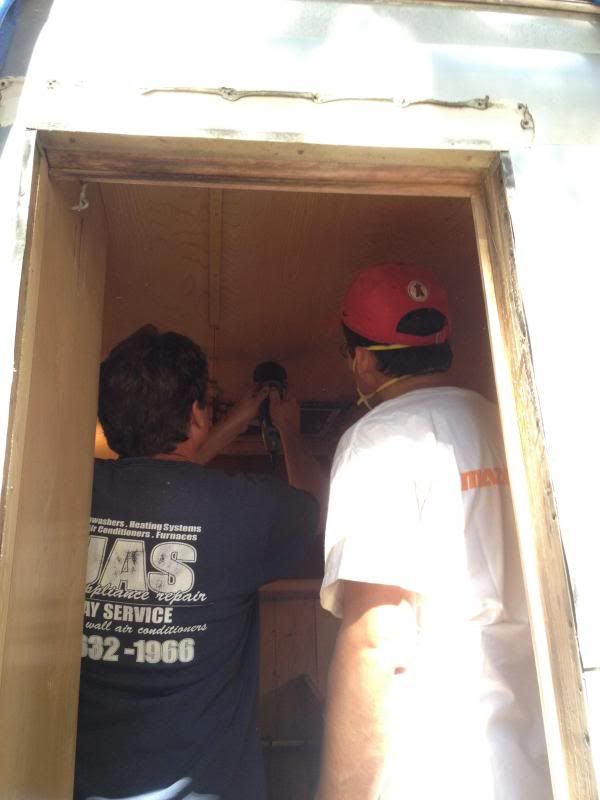
| This is my Hubster. |
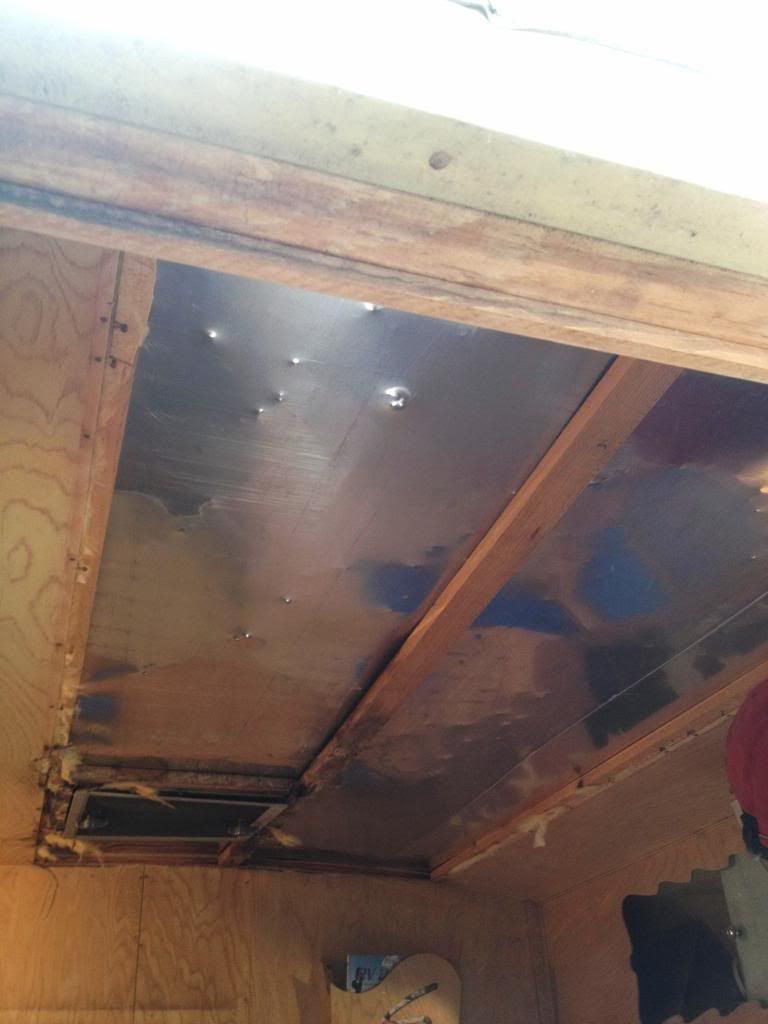
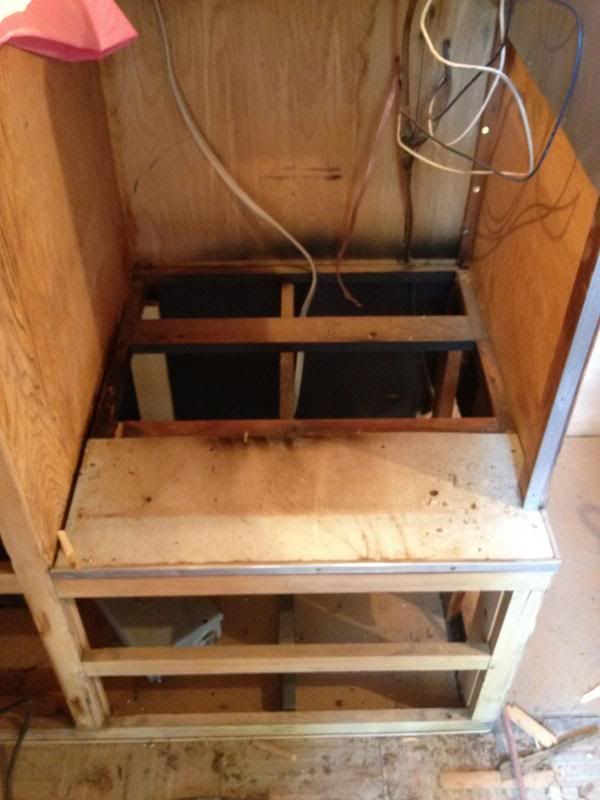
They pulled out the old insulation etc. Because the vent is so close to the right cupboard over the oven, they had to pull that out as well. It looks like the wood rot & damage is only in the vent area. Good sign.
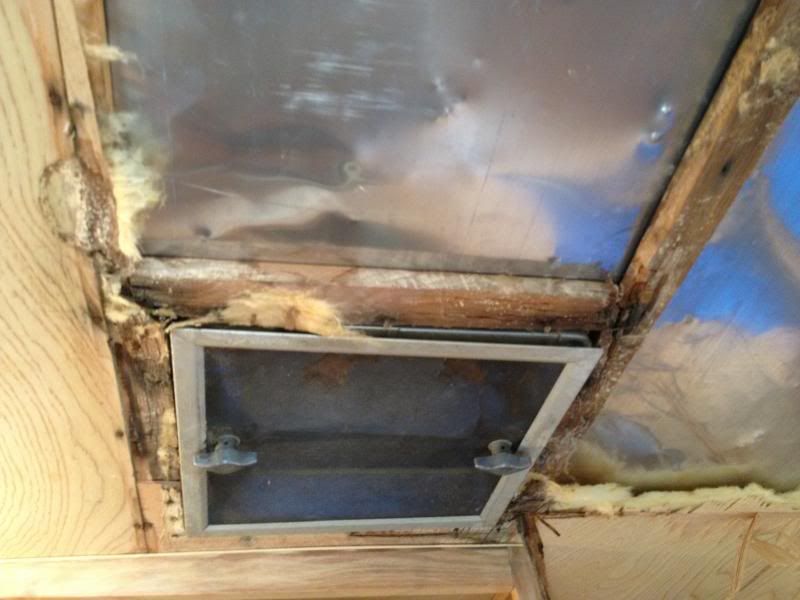 |
| The vent |
They also pulled out the support wood that was underneath the oven. It had gotten charred. So they will replace it with a piece of hardibacker. Luckily the charred part of the laminate won't show. I'd never find any replacement laminate!
We will have to put the sanding on hold, and focus on getting the window frames cleaned and polished the next time we are there, so Dave can get all the windows sealed before there are any bad rain showers.
Tuesday, August 20, 2013
Treasures from the Trailer
Worked on the trailer today.
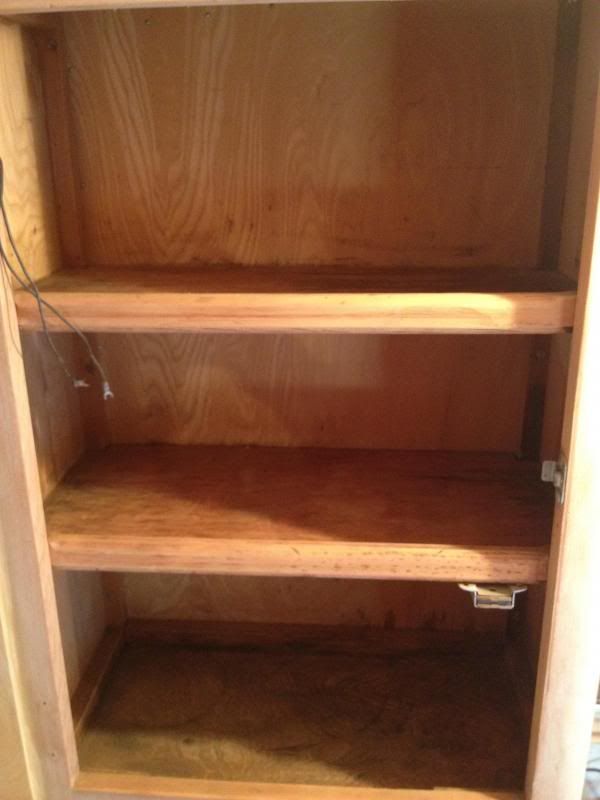
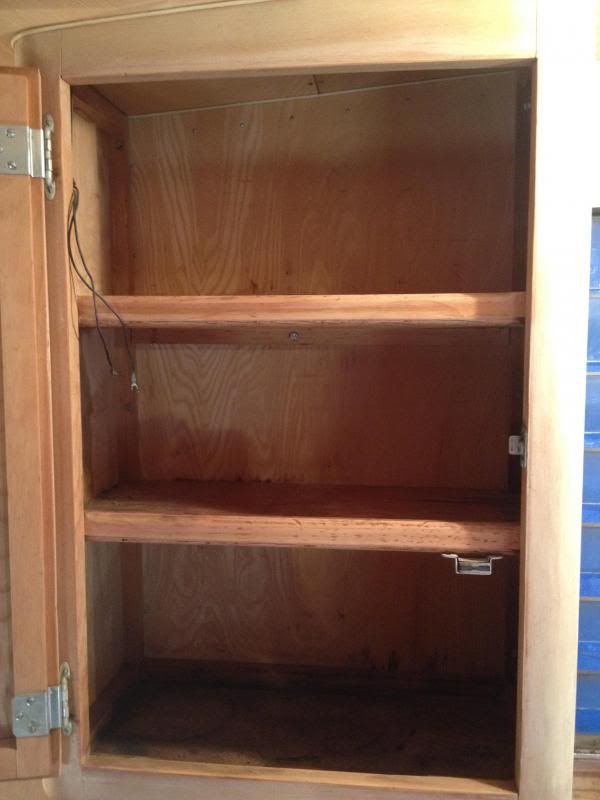
First I sanded the inside of this cupboard. But it had really thick gunk on the shelves and sanding alone was not working. So I put some paint/epoxy remover stuff on it and then scraped some of the gunk off. Even got a couple of chemical burns on my forearms. Beauty is pain.
It still looks pretty bad. Hopefully shelf liners will cover it up...
I get back to my sanding, and as the menial work continues my imagination wanders......I could picture some fella who works in the Shasta factory in Van Nuys, CA (where she was built) who places a penny from his pocket into every trailer he works on. He tucks it in inconspicuously with hopes that someday, a person in the future may find it somehow. It's like his little time capsule secret he is creating for all the Shastas he is a part of working on.
First I sanded the inside of this cupboard. But it had really thick gunk on the shelves and sanding alone was not working. So I put some paint/epoxy remover stuff on it and then scraped some of the gunk off. Even got a couple of chemical burns on my forearms. Beauty is pain.
It still looks pretty bad. Hopefully shelf liners will cover it up...
 |
| Before |
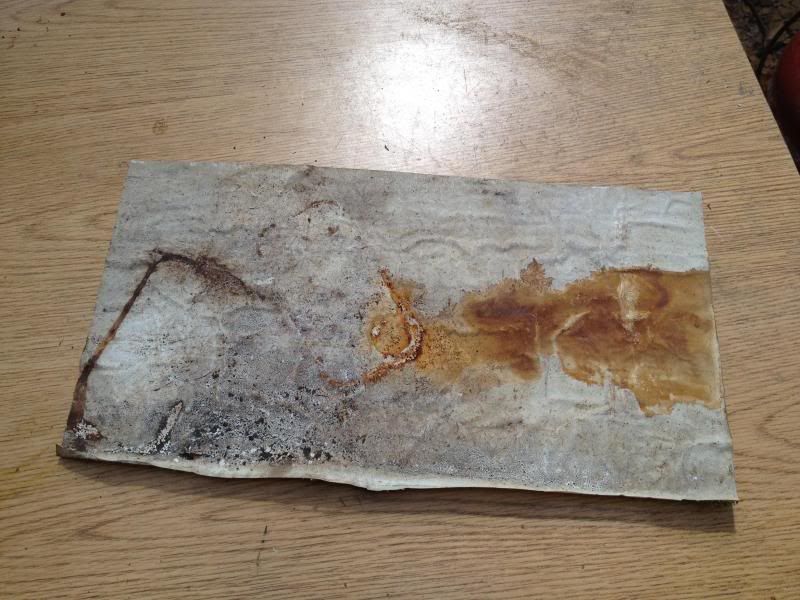
I found on the top shelf a realllllly old piece of contact paper stuck on it. So I think that is where the gunk came from, from the sticky part.
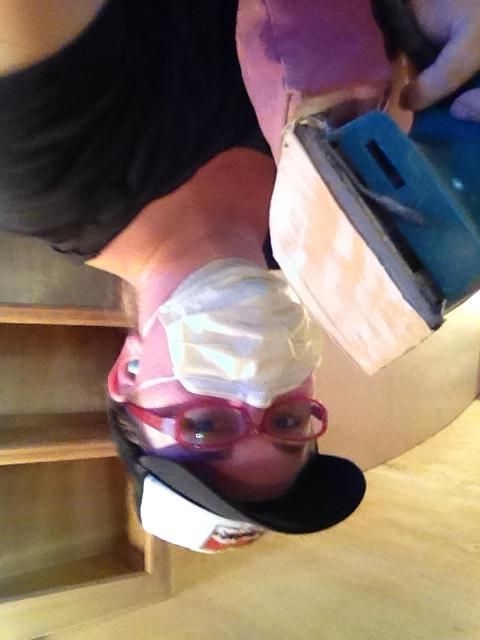
This is me. No makeup. Covered in wood dust. The sander is so loud I have to wear ear plugs or I'll have ringing for days. I loathe selfies. I am actually smiling under the mask too.
So while sanding out the cupboards, I came across a couple of treasures. The first was some S&H stamps. The other was a girly coin. One side says "Heads I Win" the other side says "Tales You Lose". What a naughty previous owner...
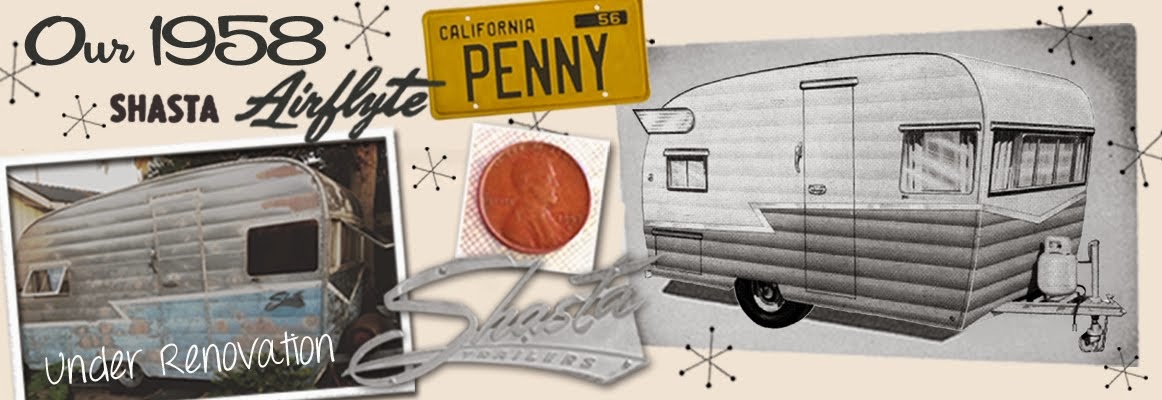
So I showed Dave (the dude doing the renovation work) my findings, and he says "Oh yeah that reminds me...the other day I found this inside the side wall by the door. It was wedged between some frame joints." and he shows me a penny. I stepped outside the trailer so I could read the date better, and it is a 1957 penny! Omigosh how cool is that! I verbosely said "I bet a Shasta worker put it in there!" Dave thinks it's worth about $10 bucks now (thanks to Google information).
 |
| The 1957 penny |
Then. It hit me.
Her name will be Penny.
Yay! I FINALLY found a name for her!!!
Since getting her, I had considered a few names:
- "Cali" since she was made in Van Nuys and I was born in California and that is where we live. But I saw another trailer owner over at the Glamping Forum already had that name. I could have still done it, but then it felt like I was copying.
- "Truly" because when I told one of my friends that I finally got a vintage trailer they said Dreams Do Come True!
- "Frances" because that is both my Grandmothers' names but I knew the kids wouldn't like to have an old lady's name on her.
- "Ellie" was one of my favorites from the Disney movie UP and how she says Adventure is out there! But my friend's trailer is already named Ellie Mae and again, it felt like I was copying.
So I just kinda waited, knowing that something would come to me. But I was getting tired of referring to her as 'the trailer', or 'the Shasta' or just 'her'. So I have to say I am beyond thrilled that she has finally been dubbed a name!!! Whew. One thing to cross of the trailer list...
I shall call her 'Penny,' and she shall be mine, and she shall be my Penny.
Cuz lawd knows, she is costing us a pretty penny.
Cuz lawd knows, she is costing us a pretty penny.
Thursday, August 15, 2013
More Framing Progress & Sanding
There a bunch of restoration progress photos in my sub-album in Photobucket. Just too lazy to upload all of them here.
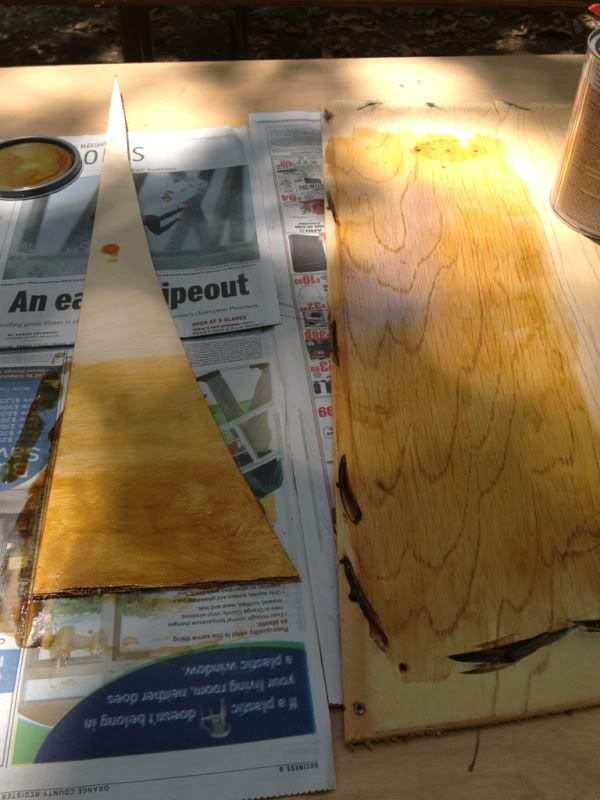
A few days ago, I sanded about 3/4 of the interior. I used hubby's palm sander. My ears are still humming with tinnitus from the high-pitch screech noise it made. Will need to wear ear plugs next time. I'm still messing around with the amount of amber shellac mixed with clear shellac onto scrap pieces to see what the best mix will be to try to get the new panel to at least blend with the existing. So far, a mix of 75% clear with 25% amber might do it. The ones below are just a bit too dark at 50/50 mix.
It's been a PITA trying to figure out how to get it to blend naturally. The existing wood is a weird pale, almost milk-paint look to it. And I keep getting mixed info from folks on the vintage trailer boards that it is Ash not Birch, no, it's Birch not Ash. *smacks head* So I am on my own trying to figure it all out. Fake it till you make it, right.
So I am lightly sanding down the original panels to get the old lacquer shine off, and will do a couple of coats of shellac just to help tone down and refresh the dry-ish wood look it has. Wish me luck when I get to that point.
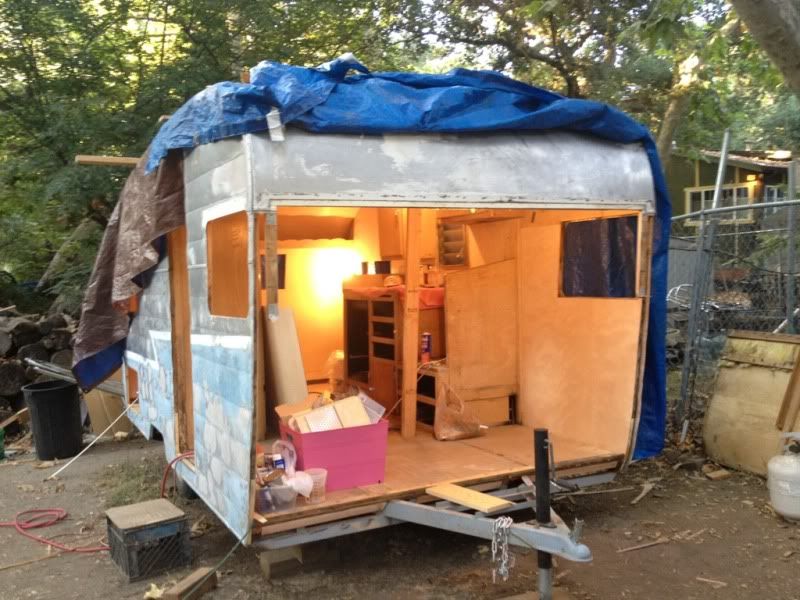
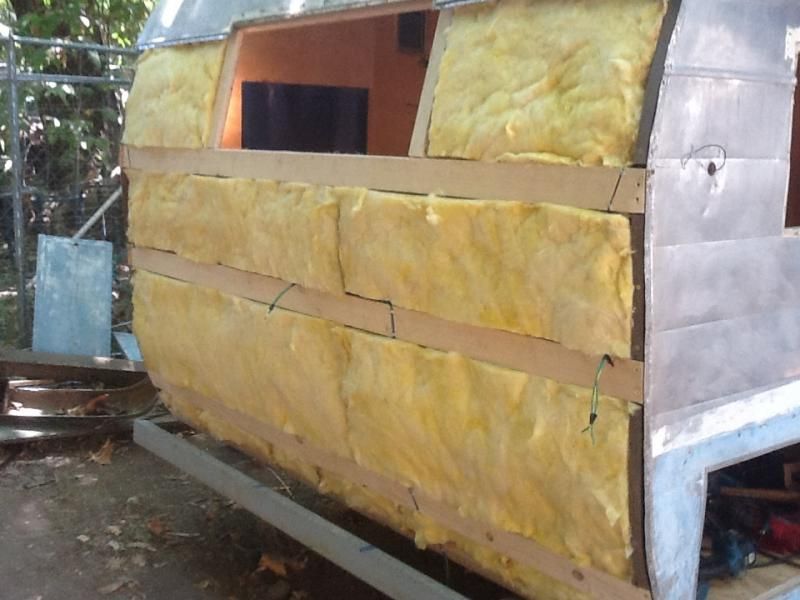
Dave has been moving along fairly quickly the past couple weeks. The entire back end and both front sides is all done with the framing, new insulation and birch plywood.
What is left to restore is the front and the one section of roof around the vent. Then he wants to get the windows back in. Which means I have to stop with the wood work and get to working on stripping the old paint off the window frames and will do an acid wash to get them shiny again. I will use the technique from Larry who has some very useful YouTube trailer restoration tutorials, and the window frame one is here at https://www.youtube.com/watch?v=jWZy8ORjl_g
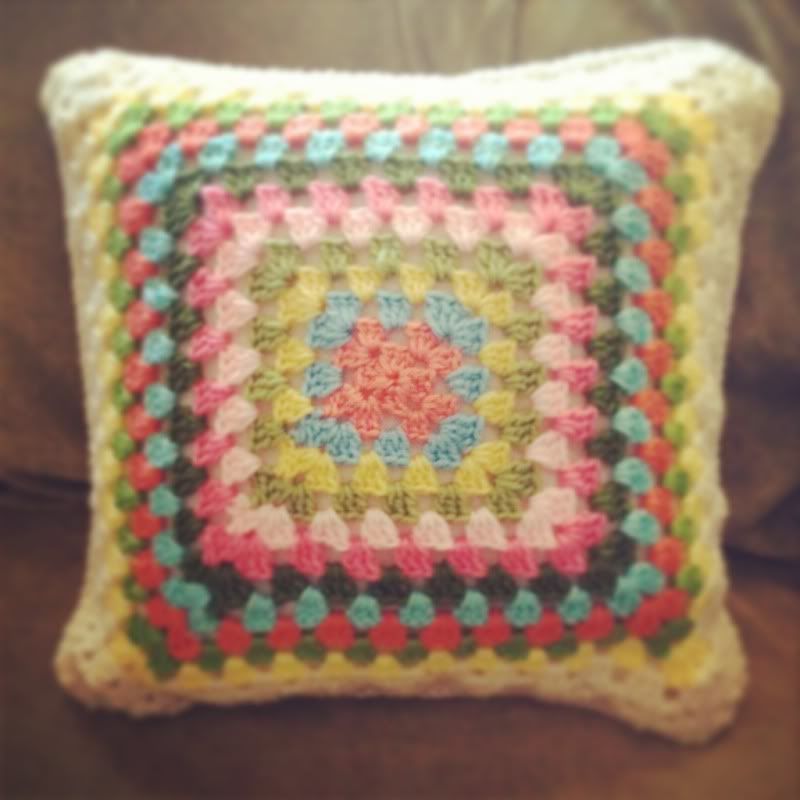
So, off-trailer topic....I have wanted to know how to crochet grannie squares for the longest time and then REALLY wanted to learn after seeing all the cute grannie square afghans in the vintage trailer pics on Pinterest (< my Board of trailer stuff). My wish came true! Last week while visiting some family out in Vegas my sister-in-law's Mother is an experienced crocheter and she was more than happy to show me how. I had already tried watching YouTubes and reading blogs on how to do it, but I learn fastest when I can sit next to someone so they can show me what I am doing wrong, or right. So grateful to her taking the time and patience to teach me how.
I am uber proud to show off my first crochet project, it's a pillow cover I made for the Shasta!
Until next time, Hasta la Shasta!
Friday, August 2, 2013
Fabric & New Friend
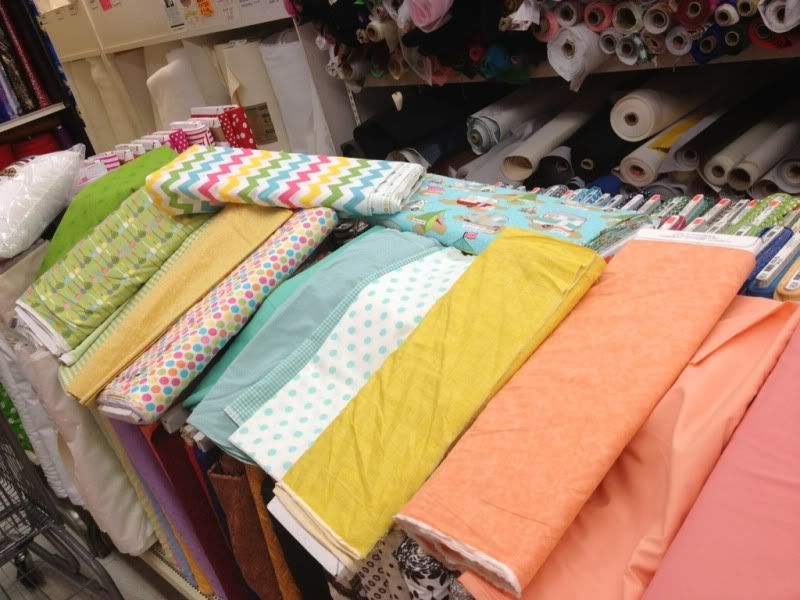
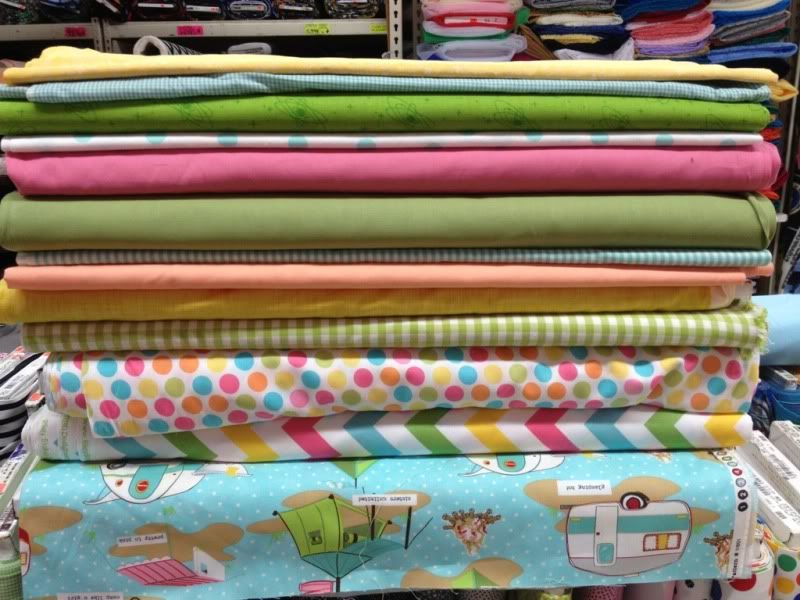
Some women like to buy shoes. Or clothes. Me likey fabric!
This is some fabric I got today for the trailer. Will make yo-yo's for pillows, quilt and bunting. Now if I could just make room to set up the sewing machine...
But something cool happened while I was at the fabric store...
As I was standing at the counter having the fabric get cut, there was another gal there getting fabric and I commented on her colors and asked what project she was doing.. It came up that I was using the fabric for a vintage trailer, and she informs me that she has a vintage Winnabego....and it's out front in the parking lot....and she lives in it full-time! I was so excited, and she let me come inside to see "Winnie" and we chatted for a bit. I was so intrigued by her story and the reason(s) she chose to be a full-time RVer. She is writing a book and I look forward to the day I can read it!
I wish I would have taken her picture next to Winnie, but didn't think of it till later.
But it is just so cool to me, how the majority of us who own vintage trailers (or things) and how we are truly "cut from the same fabric"!
Subscribe to:
Comments (Atom)
